Pro becomes smart: imgproxy Pro engages machine learning


With the release of the third version of imgproxy Pro, we’ve announced an Early Access program to get 3.0 for free, and some new features coming from the in-demand field of machine learning—including object-oriented crop gravity and auto-quality by SSIM. Beyond this, we’re also adding customized pipelines, color palette processing, fallback images, and more convenient administration features.
Smart features
Object-oriented crop gravity
We’ve wanted it for so long, and it’s finally happening—we’re bringing machine learning (ML) to imgproxy Pro. To be more precise, object detection. It all started with a desire to make our smart cropping even smarter. A typical use case includes situations where user-generated content should meet specific shape and size constraints but any shape and size may be uploaded. When we apply “resize to fill” according to the given parameters, imgproxy should know exactly how to cut the photo in order to avoid removing someone’s head. Of course, these parameters could be defined in the processing options, but it’s far more convenient when the system can determine what should be left off without assistance.
Until now, imgproxy has used the built-in libvps method to do this, but its algorithms don’t use machine learning—they work with pixel intensity. This means they can’t recognize specific objects in the image, and are instead guided by edges, saturation, complexion colors, and so on. Unfortunately, unless there is a sharp intensity in a specific location, it likely won’t work with that image (which is the case for most images). For example, in a photo of a person in a business suit, it’s quite difficult to determine the right section to crop in order to create a headshot.
To solve this problem, we’re using machine learning algorithms so users can find and classify specific objects. You can upload your own models, or you may use our previously-trained ML model (this avoids uploading heavy model files). We’ve trained our model to detect faces, but if necessary, users can use their models to identify other targeted objects, such as minors, animals, cars, etc.

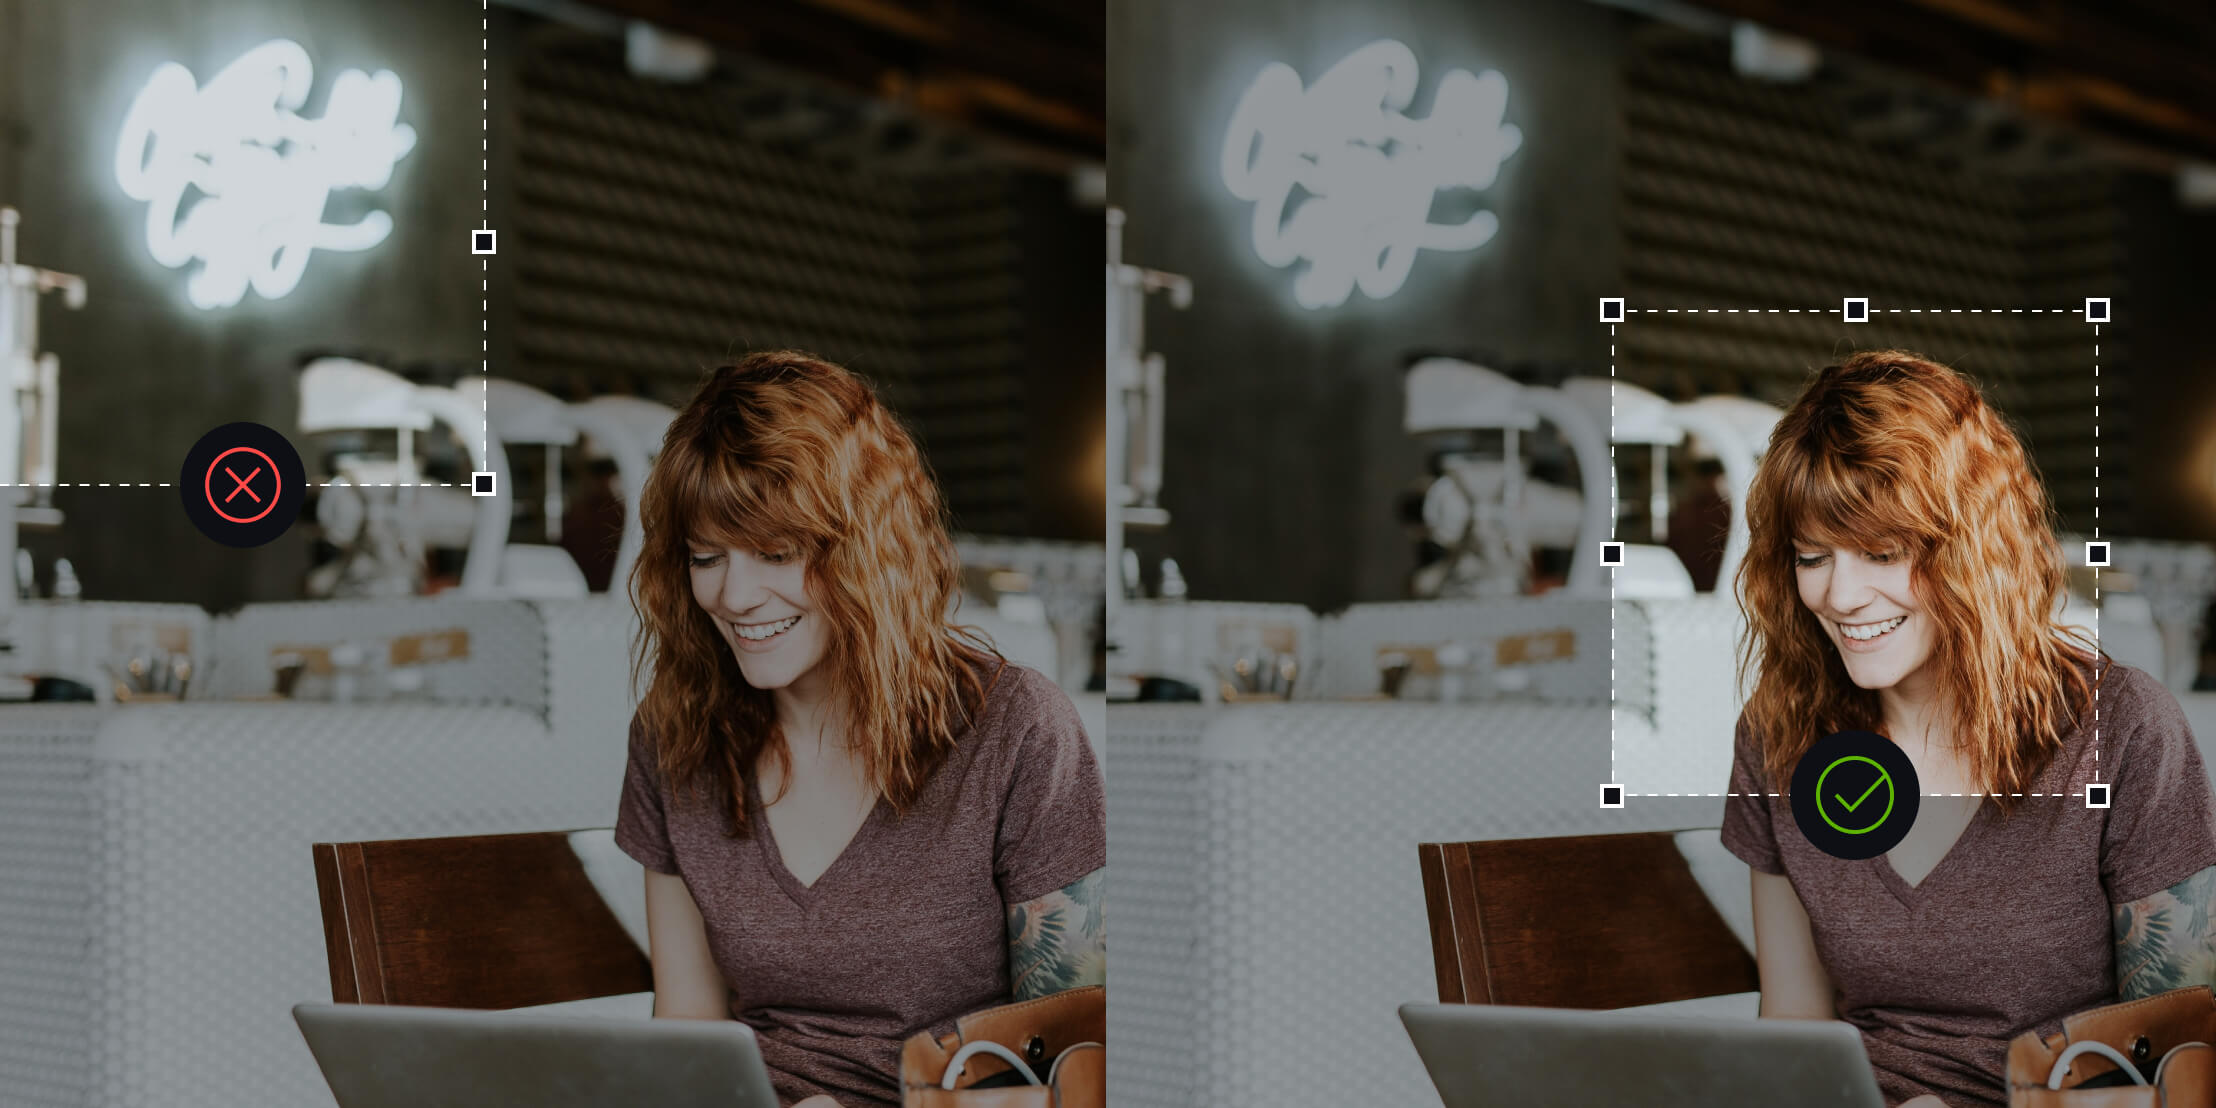
Smart cropping, photo source: Brooke Cagle
To check our models, we’ve also implemented a drawing detections feature to show boundary boxes on images—the areas that the algorithm has detected and identified as the targets. Users are welcome to use this feature for their own purposes.
Anonymization or blurring detections
Everything that’s detected can also be blurred. This feature is helpful to anonymize people in a photo, blur specific elements (like children in a photo), or the parts of an image that are “not safe for work”. We use proven open source algorithms for this, but users can also leverage their own pre-trained models.

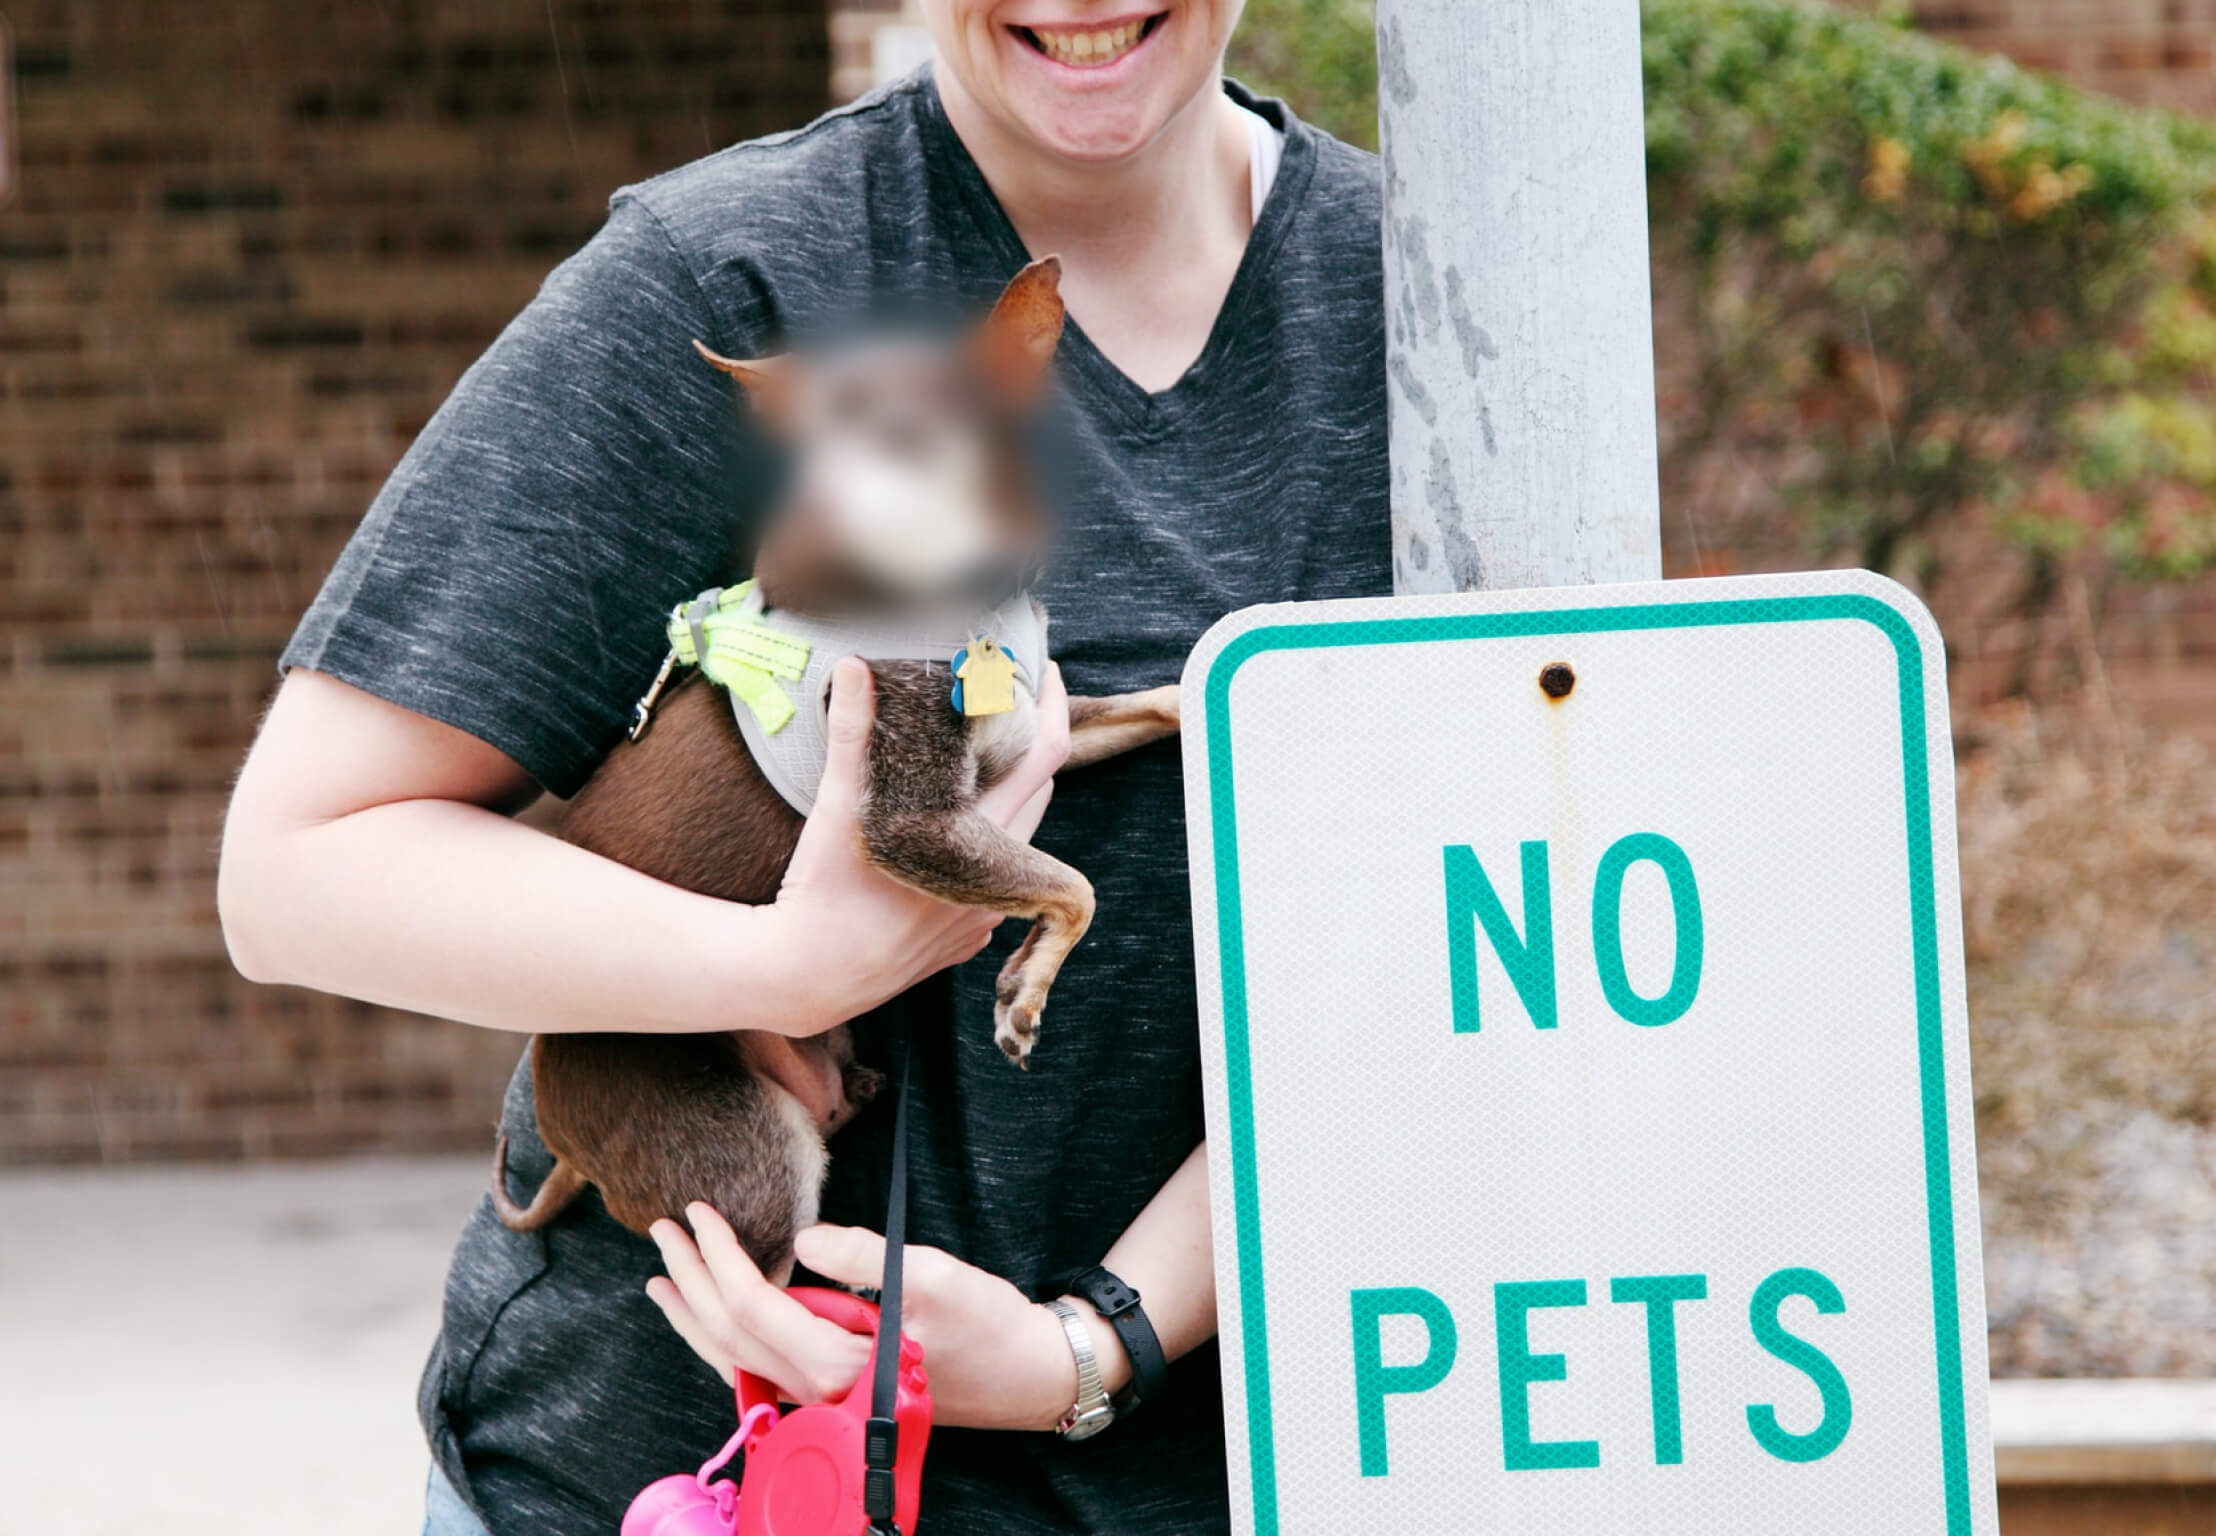
Blurring, photo source: Shane
Auto-quality by SSIM or image quality coefficient automatic detention
Typically, users tend to apply the same quality coefficient for all their images, but it often doesn’t provide that perfect balance between file size and image quality. Some image files can be saved with a smaller quality coefficient while still having satisfactory quality.
We decided to automatically determine the quality coefficient. We experimented with ML algorithms to find a way to predict the best coefficient for saving an image. Our goal was to reach a certain, very low, share of compression losses. We’re able to reduce the file size by compressing it as much as possible while still keeping the image quality.
We weren’t satisfied with the easiest implementation of auto-quality—constantly re-saving the picture until achieving the desired coefficient—this could take quite a long time. Therefore, we invented a combined method in which the picture is first run through the neural network, the coefficient is determined, and then fine-tuned if the neural network prediction wasn’t accurate enough.
We use DSSIM (structural dissimilarity) metrics from the SSIM (structural similarity) family, allowing us to determine the level of similarity between two pictures. In terms of image compression, it works like this: we take a picture, compress it with the help of some algorithms (e.g., JPEG), decode, then calculate the SSIM for the original and compressed image. More SSIM means less compression loss. DSSIM works on the opposite principle—a larger value means more losses during compression. Accordingly, we try to achieve a quality coefficient where DSSIM is very close to the desired one (and this limit can be adjusted).
Auto quantization or enabling dynamic PNG compression
Quantization is a lossy compression technique achieved by compressing a range of values into a single quantum value. In our case, we generate a color palette and assign color indices from this palette to each image’s pixel.
Images can be encoded in different ways, for instance, the system can assign color values for each pixel, or it can use a limited palette. imgproxy already supports the latter method for PNG format images (this option must be specified in settings).
However, our users sometimes face a problem: when PNG quantization is disabled and the source PNG is utilizing a palette, the resultant file will be much larger. The opposite problem can also occur: when the source PNG is full-color but quantization is enabled, the resultant file loses quality.
To deal with this, we introduced automatic recognition. If the original picture contains a palette, then we also quantize the result, and vice versa. Now we have two modes when saving PNG images—they are either saved automatically, or we always quantize them.
ETag or forwarding request headers
In the third version, we’ve implemented HTTP protocol’s ETags smart generation for more efficient caching when requesting original images. If a browser request comes with an ETag, we first check if the processing options have changed and then request images with the same ETag. If the server confirms that the original image hasn’t changed, we respond to the browser with the “Not Modified” status and do not process the image (the browser takes the image from the cache). Compared to the second version of imgproxy Pro, there’s no need anymore to download an unchanged picture and process it again, which eliminates a large amount of processing and memory load.
Chained processing pipelines
In imgproxy, we set a pre-defined processing pipeline. After a series of tests, we’ve implemented a processing order that allows every operation to be performed as quickly as possible and reduces unnecessary memory costs.
But now, for several use cases, we’ve decided to give users the opportunity to customize this processing order. Version 3 of imgproxy Pro allows users to specify multiple pipelines using a single URL, which will then be consistently executed. The server processes the picture according to the first pipeline, finishes it without saving the picture, and starts processing the result using the next pipeline. Thus, users can build any process as needed.
Let’s discuss when this can come in handy. First up, this feature is valuable for situations when several iterations are required, and where these iterations might include even more image changes. For example, you may need to resize a pic, then crop it, then resize the cropped image again in order to properly meet the given parameters. Customizing processing order is also useful when you need to add several watermarks on the same image at once.
Easier administration
For both versions—open source and Pro—we’ve also added some new administrative features.
- We added DataDog monitoring service support.
- Introduced the “skip_processing” option so you can specify formats you don’t want to process with the URL.
- We implemented an HTTP code for the fallback image response. Users can now specify the HTTP response code when a picture isn’t found and a fallback was utilized.
- We added the “expires” processing option—this helps set the day/time/period when a link will expire.
In addition, the “pixelation” filter is now an open source feature and is available to everyone for free.

Pixelation, photo source - NASA

We’ve also used the 3rd version release to implement large-scale refactoring throughout the entire product. We aimed to simplify product support and to remove any unnecessary and deprecated features. This allows us to clear some room to bring in some more sophisticated features, namely machine learning features.
Learn more about all the Pro features here: imgproxy.net.
You also have the chance to join imgproxy’s Early Access program and get Pro 3.0 for free until November 30, 2021 inclusive, in addition to a $100 discount for your Pro plan of choice after that. To become an Early Access adopter, sign up on Product Hunt before October 31, 2021.